编译openssl
依赖项
perl
https://pan.baidu.com/s/ 1BXPRcDAUFN2vJOrNvkZIwQ
nasm
默认安装目录: C:\Users\xiaca\AppData\Local\bin\NASM
安装后配置到环境变量path中
下载地址:https://pan.baidu.com/s/1BXPRcDAUFN2vJOrNvkZIwQ
编译命令
1 | C:\Program Files (x86)\Microsoft Visual Studio\2017\Community\VC\Auxiliary\Build\vcvarsamd64_x86.bat |
1 | perl Confifigure { VC-WIN32 | VC-WIN64A | VC-WIN64I | VC-CE } --prefifix=%OUTPATH% |
nmake
make test
nmake install
C:\Program Files (x86)\OpenSSL
如果c盘需要管理员权限运行
步骤:
1.先安装perl和nasm

全部点下一步
nasma解压后添加到PATH环境变量里
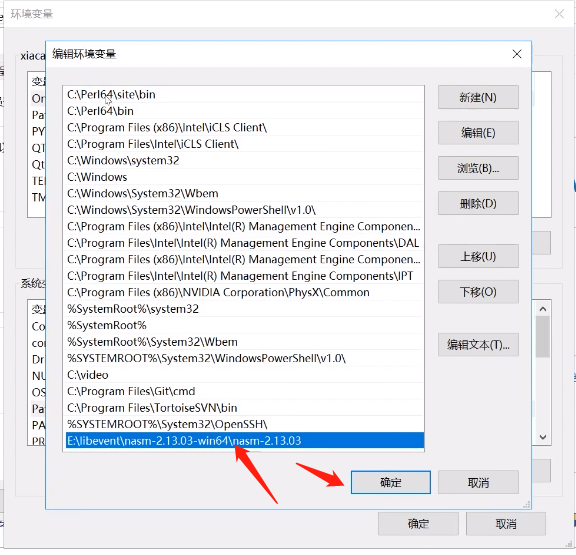
控制台重启生效
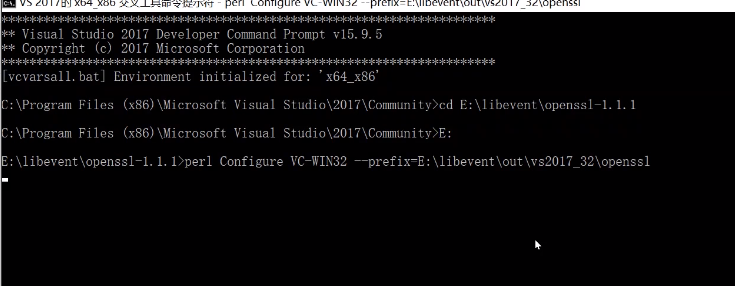
2.打开VS 2017的 x64_x86 交叉工具命令提示符
进入到openssl目录
输入perl Configure VC-WIN32 --prefix=E:\libevent\out\vs2017_32\openssl
--prefix= 指定输出路径
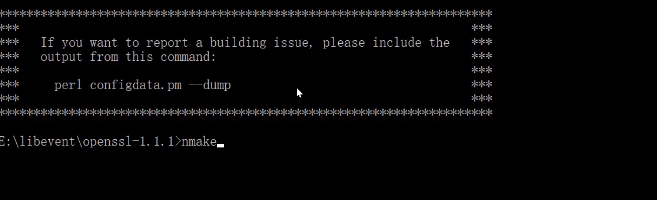
3.编译
1 | nmake |
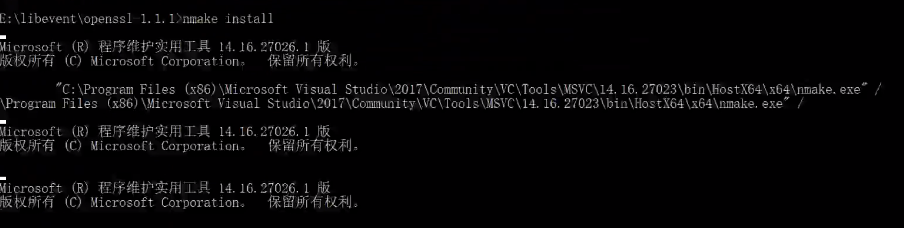
4.安装
1 | nmake install |
编译批处理脚本
1 | @echo "开始编译openssl" |

